Pages

Sunday, June 16, 2013

Summer Bucket List: A Walk Through Downtown Carlsbad

After reading a post by Kelle Hampton about staying on Mackinac Island and deciding to take her kids out in their jammies after dinner to stroll the streets, I thought to myself, we live in one of the best areas of the country to do that, we should TOTALLY do that! So last night at dinner I thought about our day, and it had consisted of a lot of errands. We spent the morning running around, telling the kids that we had to hurry, and in all essence, making them conform to our needs. I don't like making the kids conform to our schedule all day long, kids aren't built for that. They need time to explore, to play, to try things out and see what happens. It doesn't flex the muscles in their brains to sit in a car going from place to place, getting out of the car, then being told not to touch things and to quiet down, then getting back into the car to go to another place where they will be told not to touch things and to quiet down. So after dinner last night, we were off, PJ's in the car and sweatshirts packed in case it was cool. We drove to downtown Carlsbad where we walked and looked. The kids touched things and shouted in excitement. It made me feel good to bring them here, and I told Thomas that exploring the coastal towns near us after dinner should be on our summer bucket list. Hopefully my kids will have slices of memory from these explorations of our area, remembering the cool salty air or the music we danced to in the parking lot. Maybe they will just get a smile on their faces when they are older and spend their twilight hour walking along the streets of a coastal community, not knowing where that smile is from, but feeling joy anyway. Maybe that's why it makes me happy; my family had a boat and we spent summers at the marina or out on the water. I'm sure that's why I've always found happiness near the water, seeking it out when I feel sad or in need of guidance. The water makes me calm and happy. I hope that my children feel the same way.

It was a nice evening, probably in the mid 70's. We parked off Rosevelt and didn't have a plan, just strolled.

We looked in shop windows and sat on the ledge of a fountain named after a man named Glenn something.

We waited to cross at an intersection and Genny talked to the cross walk because it talked to her.

Thomas was talking to his dad for most of our walk, but I know he enjoyed it too.

We found a small plot that had a red phone booth and a rose garden with a path. The kids ran around and talked on the phone, which, if you're a three year old or a five year old, is very cool.

We stopped for ice cream...

And ended the walk looking at a painting on a building.

I'm still smiling from our walk.

Thursday, June 13, 2013

Car Organizer Tutorial

We are about to embark on a three week family vacation that will take us from San Diego, to South Carolina, to Michigan, then back to San Diego. As soon as I realized we were actually going to do this, my mind started listing things I wanted us to have to help things go smoother. So for the last few weeks I've been trying to sew everything I feel we need to help us stay organized, which will in turn keep my stress levels lower. This car organizer was one of the more complicated projects and I'm glad it's done. I made some mistakes, but hopefully my tutorial will help you to avoid them if you decide to make these.

I started off by measuring the back of the front seats of our car. I added an inch to the length and width when cutting the white fabric.

Materials:

base fabric (I used white)

pocket fabric (I used the chevron)

coordinating thread

snap press (if you have one, if not, don't worry about it)

It's helpful to have a cutting mat, rotary cutter and clear ruler for accurate cutting

I chose very cheap cotton fabric for my base. Since I was using a twill for the pocket fabrics, I needed to add some strength to the fabric. I could have used interfacing, but I had batting left over from another project, so I used that instead.

I cut the base fabric and batting first. I wanted to have a visual of what the pockets would be on when I started cutting them. So I sewed the base fabric to the batting.

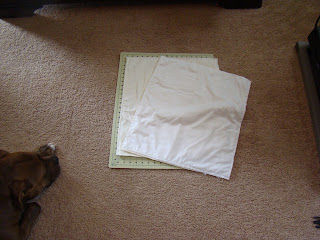
Then I measured the pockets. I cut both the chevron and white fabric, then sewed them right sides together, turning them right side out and pinning the opening closed when I was done.

One of the mistakes I made was trying to put the elastic for the cup pocket in while sewing the right sides together. If I was to do it over again, I would sew the elastic onto the right side of the base fabric AFTER I had turned the square right side out. Then sewing the pocket to the base would have been much prettier and easier too.

When decided on the measurements for my pockets, I focussed on having a pocket for their cups first, then knew I wanted a lower large pocket, and just kind of filled in the space that was left.

After I had sewn all the pockets, I laid them out on the cutting matt.

Then I pinned them down and sewed them.

I added a strap to loop around the head rest. It's placed wrong in this picture, it should be pinned to the pocket-side and hanging down. I put the end of the strap in one of the pockets so it stayed out of the way while sewing.

I put the second base fabric on top of the pockets, then pinned it down. I'm not an over-pinner, but for this I made sure there were plenty of pins.

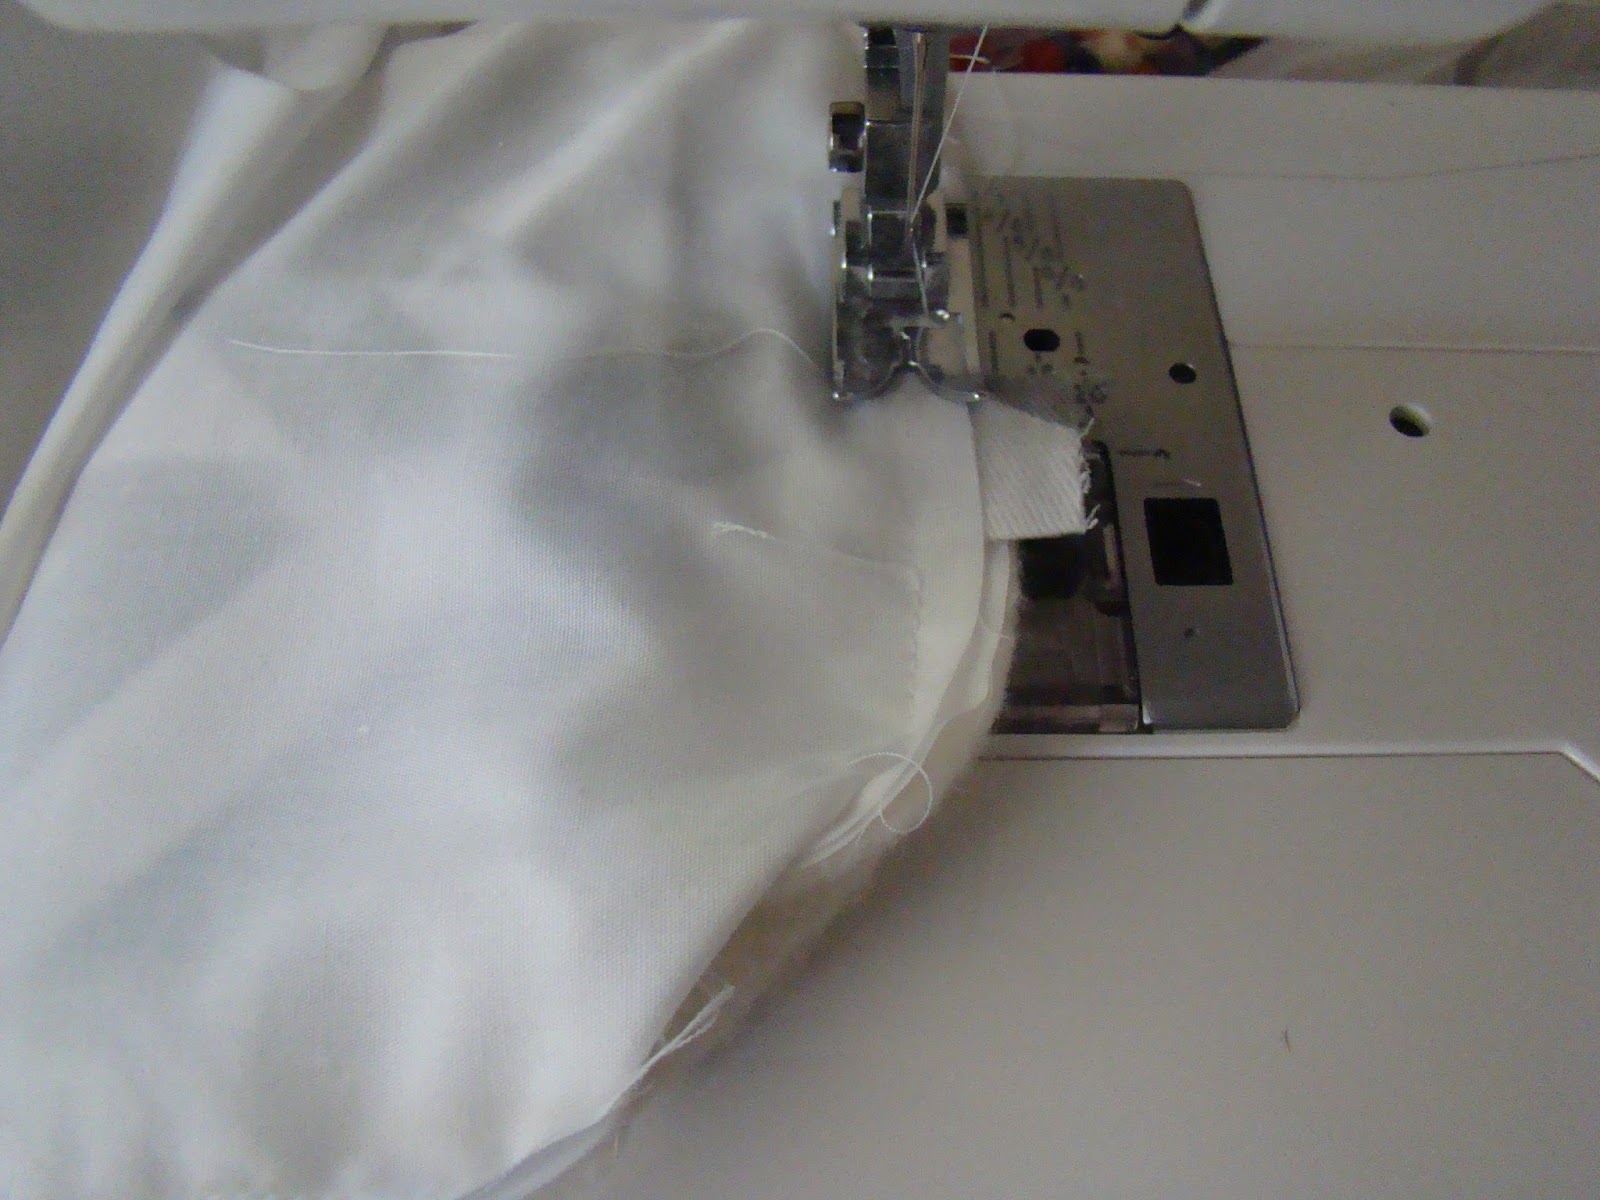
I made sure to go over the strap several times to make sure it was secure.

I left an opening, and brought the right side out. I like to use the back end of a crochet hook for corners and thinner straps that need to be turned right side out.

And there you have it! It was more work than I'm used to when sewing, but I think they will work out great. And I will add a snap to the loose end of the strap with a few snaps so we can adjust it as needed.

Thanks for checking out my tutorial, and make sure to check out my Etsy Shop!

Thursday, June 6, 2013

Boxy Makeup Bag Tutorial

I found This bag while pinning tons of sewing projects that I may or may not ever get to. I loved the boxy look of the bag, and thought it would be a perfect bag to replace my current makeup box that I've had since I was in 8th grade. (a mere eighteen years ago...) As I started cutting the fabric I realized that the bag would be too small for my makeup items, and so I made it a little larger, and at the last minute I added a strap for my wrist or hanging it. I also used PUL as the lining, thinking it would be nice and water proof, but after finishing the bag I realized that I would have to construct it differently to make it actually water proof, so if you're making it at home and are wondering if you should use PUL or not, I would recommend using nylon instead because it's cheaper and it will still have the same effect of the PUL for this design, which is to keep the inside wipeable if you spill makeup. I referred to the PUL in this tutorial, only because that's what I used, but again, I would recommend using nylon.

Here are the supplies:

~two pieces of fabric 10X8" (outside fabric)

~Two pieces of PUL 10X8" (inside)

~One piece of 3X10" fabric (handle)

~Two pieces of interfacing

~one 14" or 16" zipper

~coordinating thread

I always cut the fabric twice as high, then cut that in half. This makes it easier for me to cut two pieces the same size for some odd reason.

I ironed the interfacing to the wrong side of the outside fabric. Then I placed the PUL right side up on top of the interfacing. Then I sewed them all together.

Then I folded over the long end by about a 1/4" and pinned it to the zipper. I sewed the zipper on (unzip the zipper first to make it easier if you don't have a zipper foot)

Put the right sides together so the PUL is showing and the zipper is on the left. Sew the right side only, leaving the sides that are perpendicular to the zipper open. (sorry- I somehow forgot to take a picture of this step)

Now position the bag so the zipper is on top and in the center. (like below)

Unzip the zipper a little bit and trim the excess zipper. Sew the open ends together (this is where you would add your strap, wait to sew these open ends until you sew the strap)

To sew the strap, take your 3X10" fabric strip and sew right sides together, leaving one side open. I use a crochet hook to turn it right side out. Don't worry about finishing it because the unsewn end will be inside the bag anyway.

Turn the bag inside-out and pull the corners out and sew those. I don't have a picture of this, so refer to the link above because she has some great pictures.

Here is the finished bag! I'm so excited to use this because, if you're anything like me, you make a lot of things for other people, but not much for yourself.

Do you think I picked the fabric subconsciously knowing it would match my makeup?