Pages

Monday, August 12, 2013

Painting My House (myself!)

I didn't realize it until today, but when Thomas is tasked with something that takes him away from our little family for longer than a normal working day, I start planning. When he left for Afhanistan for the first time, I painted the nursery for my son. When he left for Afhanistan for the second time, I painted my sons current room. And now that he's made Chief, which starts with six weeks of long hours and overnight tasks, I decided to FINALY finish the outside of the house where we had the windows put in our master bedroom a year and a half ago.

It helps my motivation to live vicariously through my next door neighbors, who are getting their house ready to rent it out so they can move to the desert. I've always loved HGTV type discussions, programs, and seeing the finished project is always worth what ever it took to get there. So watching them paint their cabinets, and renovate other things, it makes me itch to improve my house in some way. It reminds me of a show I used to watch on HGTV where a couple would want to sell their house, but they had to do several (mostly minor) renovations to get it ready to sell. After they fixed up their house every single couple would say, "Wow, I almost don't want to leave anymore!" which is why they probably made the show Love it or List it. I always thought to myself, "If I keep my house nice enough to sell, then I'll always love it" But alas, day to day things get in the way of the greater picture and priorities shift from season to season, day to day. But here I am, with my priorities set to upkeep of the house mode. And I'm ready!

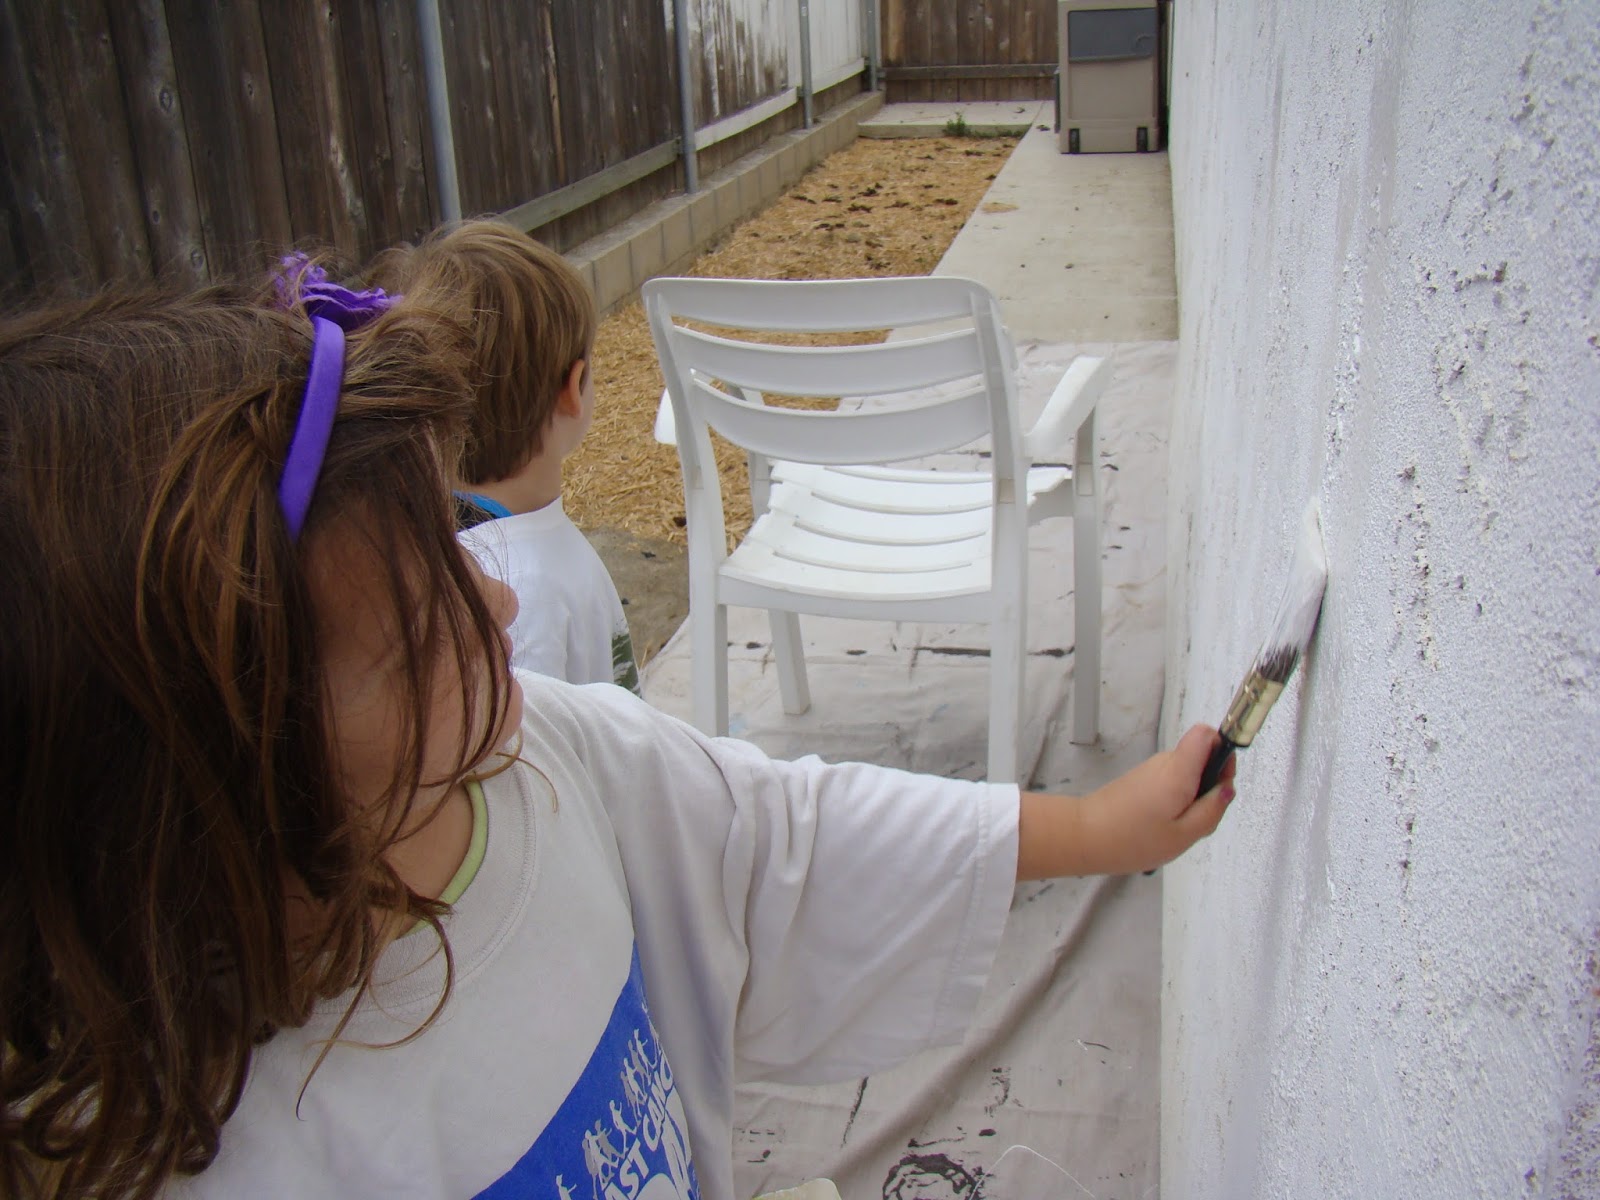
Don't get me wrong, I am all sorts of good at ignoring something that needs to be done. But then one day I'll get super motivated and want to do everything on my to-do list. All of it. So this weekend I decided I wanted to be happy with the way my house looked from the outside, and decided to fix and paint it. I know what you're thinking, wow, Kari must be really handy! Nope. I can't even use an electric screw driver. But I grabbed some ready-mix stucco and checked out youtube for some how-to videos, then went outside to look at the project at hand. If you didn't catch that, I didn't look at the project at hand until after I had bought the supplies and learned what I needed to learn on youtube. Classic Kari mistake. I got out there and saw that the only thing I needed to to was paint! How wonderful is that?! So I loaded up the kids (one still in jammies, none of us looking like we'd done anything except step out of bed and into the car) and returned the laith and stucco mix to HD and bought some paint. Then I psyched the kids up for the job on the way home, and they painted for about five minutes, then I finished the painting while they played. It was fantastic. It was wonderful. I am so happy that I did it! Five years in a house dreading the first time people come over because they'll see how ugly the house is, and all it took was $30 of paint and two hours.

I feel so accomplished. I feel like superwoman!

It was pretty early when we left, I thought I'd give proof!

Like I said, the kids had a blast for the first five minutes, but then they were over it.

No wonder I had random contractors knocking on my front door asking if I wanted my house painted or any work done. They would say, "I see you just had some windows put in, do you have anything else that needs to be done?" My reply would be, "Well, those windows were put in a year ago and we can't afford to have it finished. So no thank you, we can't afford anything right now."

My companion once the kids left. He'd follow me into a lava pit if that's where I happened to be headed.

I had enough paint to paint the spot under Glenn's window. It makes me more happy than a night on the town sans kids to have this looking better! (Do you see the guilty puppy? I wonder what he was up to when he realized I was watching...)

Below is the finished wall outside my bedroom! yay!!!

After a break and shower, we went outside in the sun room to do some fun painting. Well, fun painting if you're a three and five year old. Give me a roller, some paint and a wall and that's fun painting to me!

Below you will see two pictures progressing from Genny showing Glenn her painting, to Glenn getting an unwanted, unboyish streak of pink paint in his hair.

But all is well when you can't see said pink hair, and you have green paint on your finger.

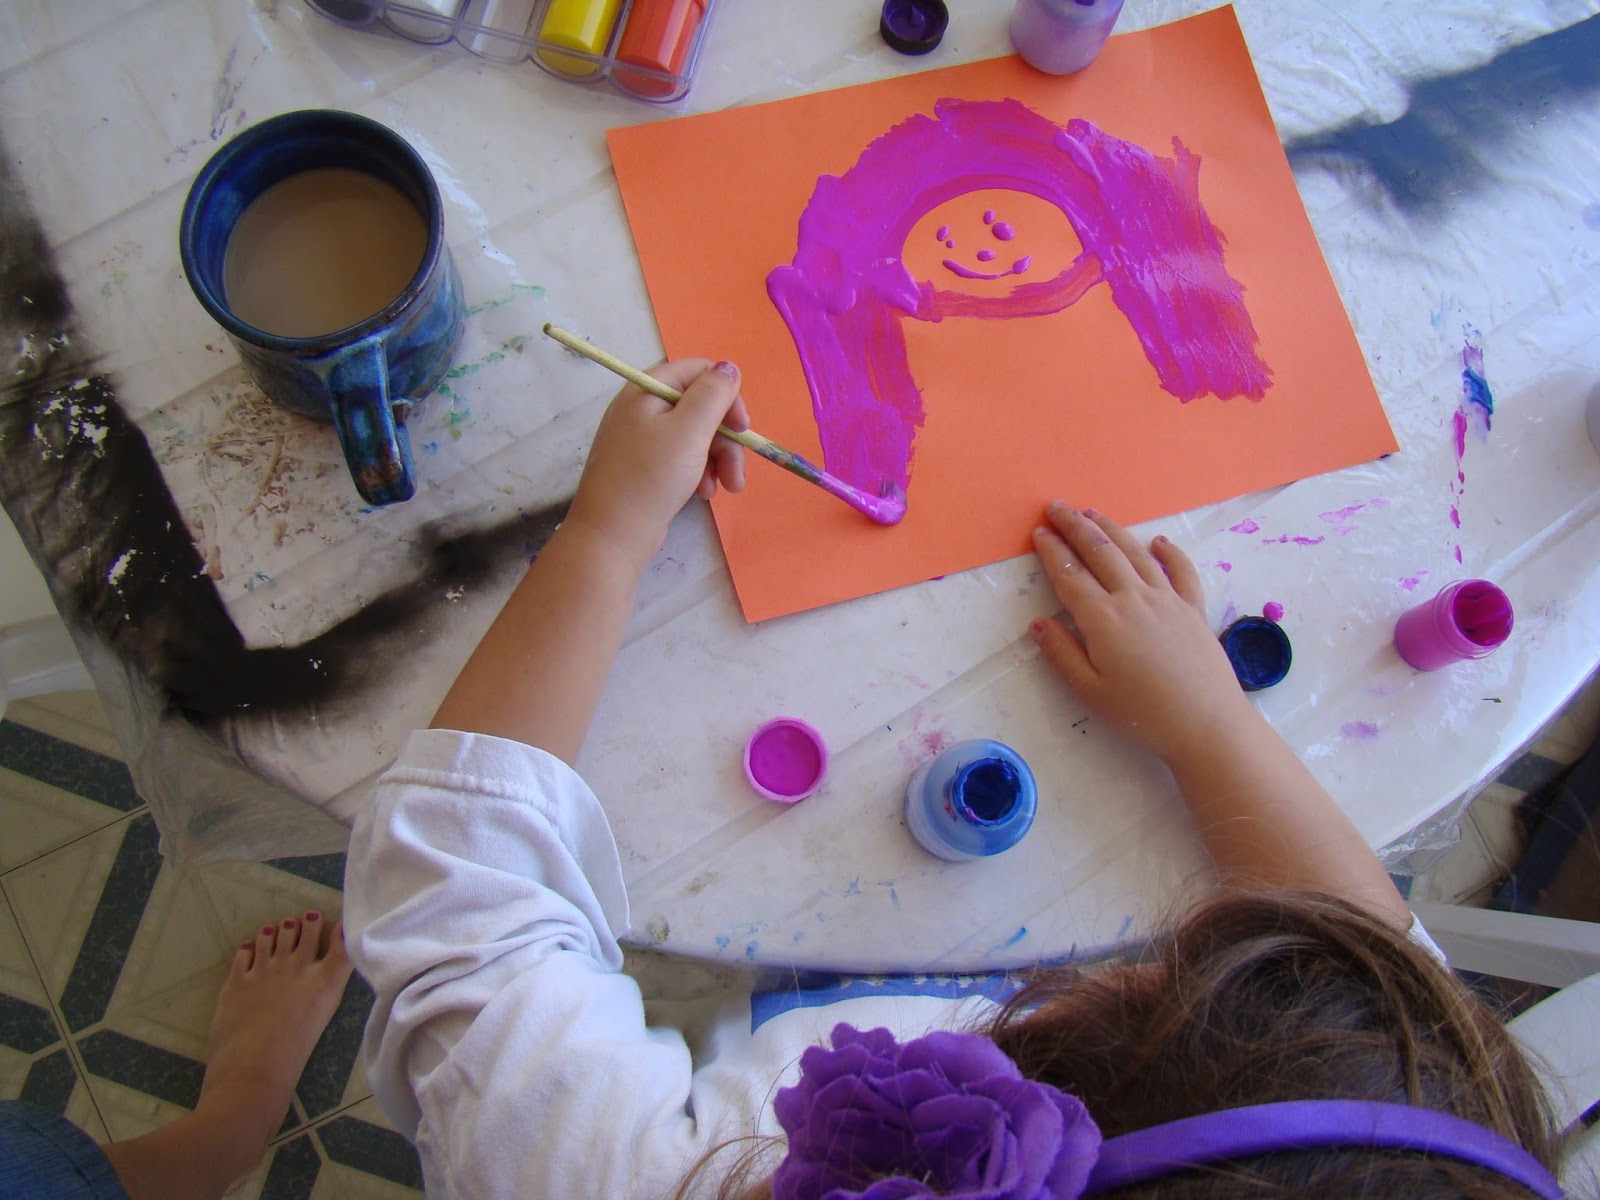
Don't worry, that's my coffee. We don't start caffeine intake around here until you're at least in first grade...

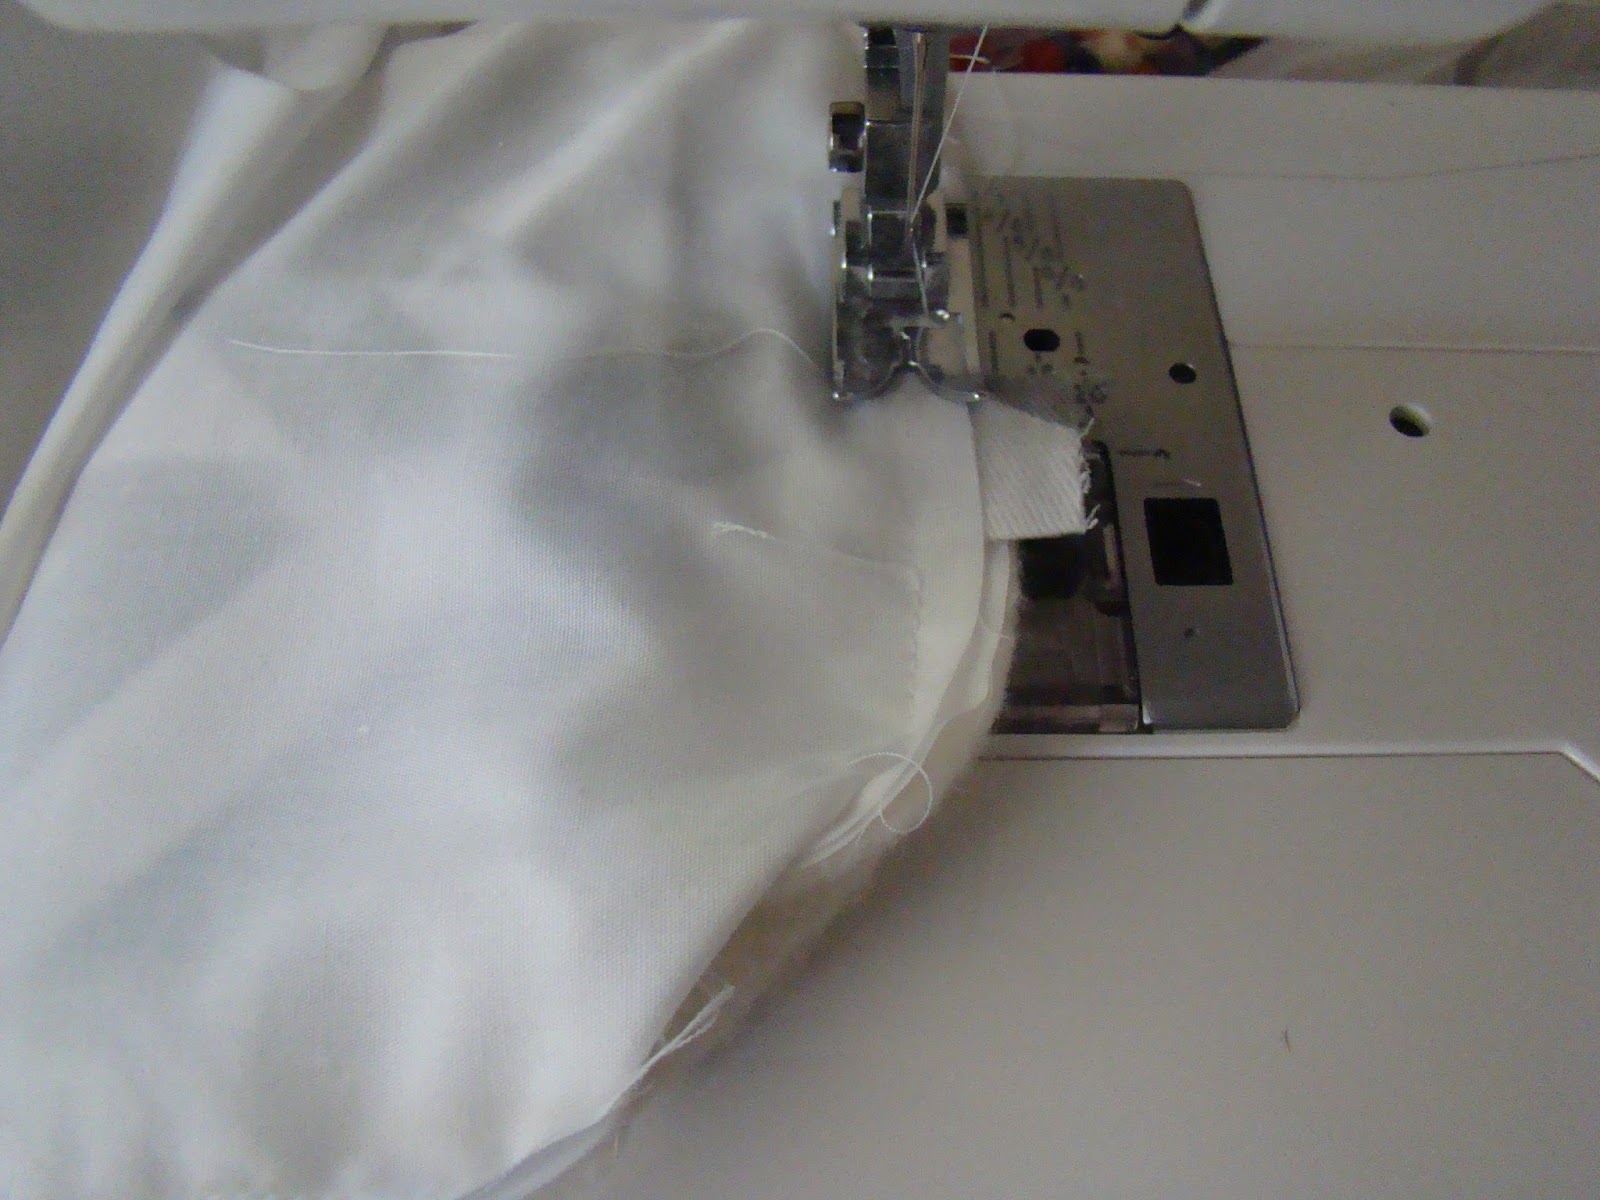
Another project I've started, Aaralynne's quilt. It will be her birthday/Christmas present this year and I can't wait to finish it and give it to her!

Have a good week everyone!

Wednesday, July 24, 2013

Family Road Trip with a 3 and 5 year old

We did it! We went on a three week road trip as a family. This included myself, my husband, my three year old son, and my five year old daughter. We were so happy and blessed to be able to see almost every living family member in both of our families, and we saw some fun sights along the way. One of the tricks we used was driving our long drives at night. An example would be our first leg, where we left our house in Oceanside, CA at about 9am, drove to Phoenix, AZ and spent about six hours with my aunt and uncle, then left Phoenix at about 10:30pm (we put the kids to bed, then transferred them to the car) and drove to Clovis, NM.

On the nights following a drive-through-the-night we slept in a bed. I know what you're thinking, there is no way I could drive through the night but we knew that our young kids would be bored to pieces if we drove the long hours during the day, and since we are still fairly young parents (I'm 32 and my husband is 29) we knew that we could survive on six hours of sleep a piece and preferred to be a little tired rather than have screaming crying kids who want OUT of the car.

Since we recently downgraded to a smaller car (we went from a Ford Freestyle which has three rows to a Volkswagon Jetta Sport Wagon which has two rows) we realized that space was going to be a big issue and my husband wanted to utilize the luggage rack and put our soft carrier on top of the car. Now, I'm not a materialistic person, but the new feature of a full-length sunroof was such an exciting new thing to me that I didn't want to use the carrier. And I'll go ahead and pretend that I knew that adding the carrier would cut down on our mpg... Yah... We'll say I knew that.

Packing was hard because Thomas and I are both over packers, plus I knew we'd be picking up stuff along the way, but I made a plan and stuck to it. Here is my packing list:

Packing List:

5 outfits for each of us

4 jammies for the kids, 2 for the adults

1 sweatshirt for each of us

3 pair of socks for each kid

2 running outfits for each adult

1 wedding outfit for each of us

2 pair shoes for each of us

1 swimsuit for each of us

Genny's cathing supplies

Genny's enema supplies

3 beach towels

Sunscreen

Toiletries (I didn't pack things I knew our relatives would have like q-tips, hair dryer, etc)

Books and Kindle

2 computers

2 divided plates (this helped out with crafts and also eating)

Large soft lunch bag for cold items such as veggies and fruit

Food bag with: bagels, almond milk, chips, pretzels, variety packs of crackers, candy, and several 1 liter water bottles

Ear plugs, sleep mask and neck pillow

3 throw-size blankets

2 pillow pets

I put like items in bags, I used handled grocery bags so I could tie the handles making the contents stay in better. My bags included: shoes, kids clothes, adult clothes, jammies. I also used smaller drawstring bags, one for adult undies and one for kids undies and socks. I used one wet bag for our running stuff and an one for swimsuits. It was nice to have everything separated because it was easier to find and pack. We had a 24 hour bag which had cathing stuff for Genny, one pair of undies for each child, an outfit for each child and jammies for all of us. I also had two bags for dirty clothes, which is a must-have in my opinion. I don't have a link for those bags, but I've been making them and giving them to anyone who sponsors my Three Day Breast Cancer Walk.

Things to keep us busy while driving:

Leap pads

DVD players, DVDs and headphones for the kids (the headphones were the best idea of all)

Paper, new coloring books, stickers, and crayons

It turns out that almost everywhere we stopped, our hosts had something to give the kids for the trip. Some gave stickers, some gave stuffed animals, and my sister topped them all with a bag of items including Crayola Model Magic which is similar to play dough, but it doesn't crumble. I also bought small packs of beads and elastic string which was a big hit the 2nd to last travel day when we woke up at the Grand Canyon and ended up back at my aunt and uncle's house in Phoenix.

The thing that was the most stressful was putting together the itinerary. Once that was done, I typed it up and sent it out to everyone on my e-mail list that was in the area we were visiting. Thomas and I have wonderful family that open their doors for us if we're in the area, and it was great to spend time with them all. We are so happy we went on this trip, and if you have any questions that I didn't answer, please feel free to comment below.

Monday, July 22, 2013

For my daughter

My darling Genny, you are growing up. I knew this would come, and that as you grew you would become more and more independent, but as happy as I am that you are able to achieve milestones every day, I still think of you as my baby, my precious baby that I couldn't wait to hold. Two whole days of waiting to hold you as you lay in the NICU a hospital miles away from me. Maybe this is why I cherish these snuggles even more now, now that you're getting older and less likely to plop down on my lap where I'm sitting and lay your head on me. But this afternoon you let me remember, let me hold you the way we've always done.

This afternoon you put your arms around me and rest your head on my shoulder. I wrapped my arms around you, our bodies forming to each other. I hear your breathing, something that every mother must cherish. I hear your soft grunts as you reposition yourself to mould better to my embrace. The slight catch in your breath as you shift your head on my shoulder. These creaks in your breathing are more special to me than any of the compliments I get from strangers about you. They remind me that you are mine, that you are my child and that you need me. I need you in the same way that you need me. Your determined stubourness is lost here, with your head on my shoulder. You’ve lost your power or perhaps don’t care to fight for it. I am your mother, you are my child. I will let you put your face in my neck anytime you want, and hope that you will when you’re wanting me to be a simple answer to your craving for comfort.

Sunday, June 16, 2013

Summer Bucket List: A Walk Through Downtown Carlsbad

After reading a post by Kelle Hampton about staying on Mackinac Island and deciding to take her kids out in their jammies after dinner to stroll the streets, I thought to myself, we live in one of the best areas of the country to do that, we should TOTALLY do that! So last night at dinner I thought about our day, and it had consisted of a lot of errands. We spent the morning running around, telling the kids that we had to hurry, and in all essence, making them conform to our needs. I don't like making the kids conform to our schedule all day long, kids aren't built for that. They need time to explore, to play, to try things out and see what happens. It doesn't flex the muscles in their brains to sit in a car going from place to place, getting out of the car, then being told not to touch things and to quiet down, then getting back into the car to go to another place where they will be told not to touch things and to quiet down. So after dinner last night, we were off, PJ's in the car and sweatshirts packed in case it was cool. We drove to downtown Carlsbad where we walked and looked. The kids touched things and shouted in excitement. It made me feel good to bring them here, and I told Thomas that exploring the coastal towns near us after dinner should be on our summer bucket list. Hopefully my kids will have slices of memory from these explorations of our area, remembering the cool salty air or the music we danced to in the parking lot. Maybe they will just get a smile on their faces when they are older and spend their twilight hour walking along the streets of a coastal community, not knowing where that smile is from, but feeling joy anyway. Maybe that's why it makes me happy; my family had a boat and we spent summers at the marina or out on the water. I'm sure that's why I've always found happiness near the water, seeking it out when I feel sad or in need of guidance. The water makes me calm and happy. I hope that my children feel the same way.

It was a nice evening, probably in the mid 70's. We parked off Rosevelt and didn't have a plan, just strolled.

We looked in shop windows and sat on the ledge of a fountain named after a man named Glenn something.

We waited to cross at an intersection and Genny talked to the cross walk because it talked to her.

Thomas was talking to his dad for most of our walk, but I know he enjoyed it too.

We found a small plot that had a red phone booth and a rose garden with a path. The kids ran around and talked on the phone, which, if you're a three year old or a five year old, is very cool.

We stopped for ice cream...

And ended the walk looking at a painting on a building.

I'm still smiling from our walk.

Thursday, June 13, 2013

Car Organizer Tutorial

We are about to embark on a three week family vacation that will take us from San Diego, to South Carolina, to Michigan, then back to San Diego. As soon as I realized we were actually going to do this, my mind started listing things I wanted us to have to help things go smoother. So for the last few weeks I've been trying to sew everything I feel we need to help us stay organized, which will in turn keep my stress levels lower. This car organizer was one of the more complicated projects and I'm glad it's done. I made some mistakes, but hopefully my tutorial will help you to avoid them if you decide to make these.

I started off by measuring the back of the front seats of our car. I added an inch to the length and width when cutting the white fabric.

Materials:

base fabric (I used white)

pocket fabric (I used the chevron)

coordinating thread

snap press (if you have one, if not, don't worry about it)

It's helpful to have a cutting mat, rotary cutter and clear ruler for accurate cutting

I chose very cheap cotton fabric for my base. Since I was using a twill for the pocket fabrics, I needed to add some strength to the fabric. I could have used interfacing, but I had batting left over from another project, so I used that instead.

I cut the base fabric and batting first. I wanted to have a visual of what the pockets would be on when I started cutting them. So I sewed the base fabric to the batting.

Then I measured the pockets. I cut both the chevron and white fabric, then sewed them right sides together, turning them right side out and pinning the opening closed when I was done.

One of the mistakes I made was trying to put the elastic for the cup pocket in while sewing the right sides together. If I was to do it over again, I would sew the elastic onto the right side of the base fabric AFTER I had turned the square right side out. Then sewing the pocket to the base would have been much prettier and easier too.

When decided on the measurements for my pockets, I focussed on having a pocket for their cups first, then knew I wanted a lower large pocket, and just kind of filled in the space that was left.

After I had sewn all the pockets, I laid them out on the cutting matt.

Then I pinned them down and sewed them.

I added a strap to loop around the head rest. It's placed wrong in this picture, it should be pinned to the pocket-side and hanging down. I put the end of the strap in one of the pockets so it stayed out of the way while sewing.

I put the second base fabric on top of the pockets, then pinned it down. I'm not an over-pinner, but for this I made sure there were plenty of pins.

I made sure to go over the strap several times to make sure it was secure.

I left an opening, and brought the right side out. I like to use the back end of a crochet hook for corners and thinner straps that need to be turned right side out.

And there you have it! It was more work than I'm used to when sewing, but I think they will work out great. And I will add a snap to the loose end of the strap with a few snaps so we can adjust it as needed.

Thanks for checking out my tutorial, and make sure to check out my Etsy Shop!