We are about to embark on a three week family vacation that will take us from San Diego, to South Carolina, to Michigan, then back to San Diego. As soon as I realized we were actually going to do this, my mind started listing things I wanted us to have to help things go smoother. So for the last few weeks I've been trying to sew everything I feel we need to help us stay organized, which will in turn keep my stress levels lower. This car organizer was one of the more complicated projects and I'm glad it's done. I made some mistakes, but hopefully my tutorial will help you to avoid them if you decide to make these.
I started off by measuring the back of the front seats of our car. I added an inch to the length and width when cutting the white fabric.
Materials:
base fabric (I used white)
pocket fabric (I used the chevron)
coordinating thread
snap press (if you have one, if not, don't worry about it)
It's helpful to have a cutting mat, rotary cutter and clear ruler for accurate cutting
I chose very cheap cotton fabric for my base. Since I was using a twill for the pocket fabrics, I needed to add some strength to the fabric. I could have used interfacing, but I had batting left over from another project, so I used that instead.
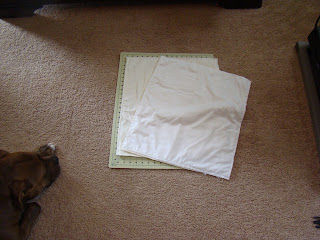
I cut the base fabric and batting first. I wanted to have a visual of what the pockets would be on when I started cutting them. So I sewed the base fabric to the batting.

Then I measured the pockets. I cut both the chevron and white fabric, then sewed them right sides together, turning them right side out and pinning the opening closed when I was done.

One of the mistakes I made was trying to put the elastic for the cup pocket in while sewing the right sides together. If I was to do it over again, I would sew the elastic onto the right side of the base fabric AFTER I had turned the square right side out. Then sewing the pocket to the base would have been much prettier and easier too.


When decided on the measurements for my pockets, I focussed on having a pocket for their cups first, then knew I wanted a lower large pocket, and just kind of filled in the space that was left.

After I had sewn all the pockets, I laid them out on the cutting matt.

Then I pinned them down and sewed them.

I added a strap to loop around the head rest. It's placed wrong in this picture, it should be pinned to the pocket-side and hanging down. I put the end of the strap in one of the pockets so it stayed out of the way while sewing.

I put the second base fabric on top of the pockets, then pinned it down. I'm not an over-pinner, but for this I made sure there were plenty of pins.

I made sure to go over the strap several times to make sure it was secure.

I left an opening, and brought the right side out. I like to use the back end of a crochet hook for corners and thinner straps that need to be turned right side out.

And there you have it! It was more work than I'm used to when sewing, but I think they will work out great. And I will add a snap to the loose end of the strap with a few snaps so we can adjust it as needed.

Thanks for checking out my tutorial, and make sure to check out my Etsy Shop!


